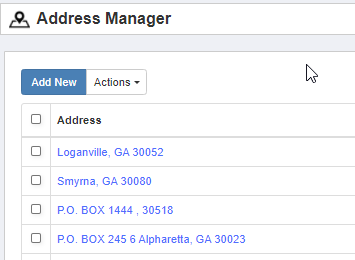
Address Manager
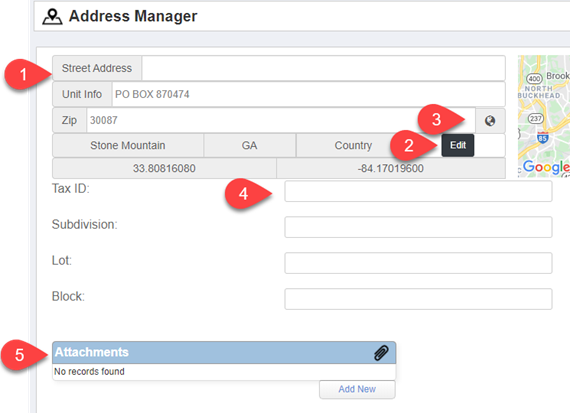
Most of the time, the Address Manager will not be edited. The exception would be typos or proper entry. If another record needs a different address, the other address will be searched for, and if not found, added from within the utility the user is working in. An example is a contact.
- Either search for the record that contains the address that needs to be edited or from the Address Manager. We recommend searching from the record as there may be very similar addresses in the Address Manager.
- Open the record and make changes.
 If you want to add text, type or copy and paste.
 If you wanted to make a change, such as change the city’s text to uppercase, click on the Edit button and type it in.
 If you want Google Maps to refresh the data, click on the earth globe icon. If you use this icon, you will NOT use the Edit button.
 This is a custom field and is not a part of Google Maps interface.
 Add an attachment.
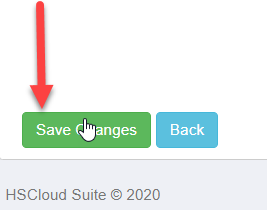
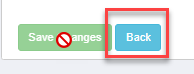
- Scroll to the bottom of the screen. This is where you will find the Save Changes button. It is always located at the very bottom.
- If a pointing icon such as a hand is displaying, then you must click on the Save Changes button.
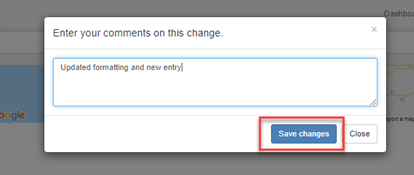
- Dependent on the system’s configuration, this track changes dialog box may be displayed. Type something and click on Save changes button.
- If a record has been saved, this icon will display when the mouse is hovered over the button.

- Clicking on the Back Button, will open the Address Manager List in its original display.
- If a pointing icon such as a hand is displaying, then you must click on the Save Changes button.
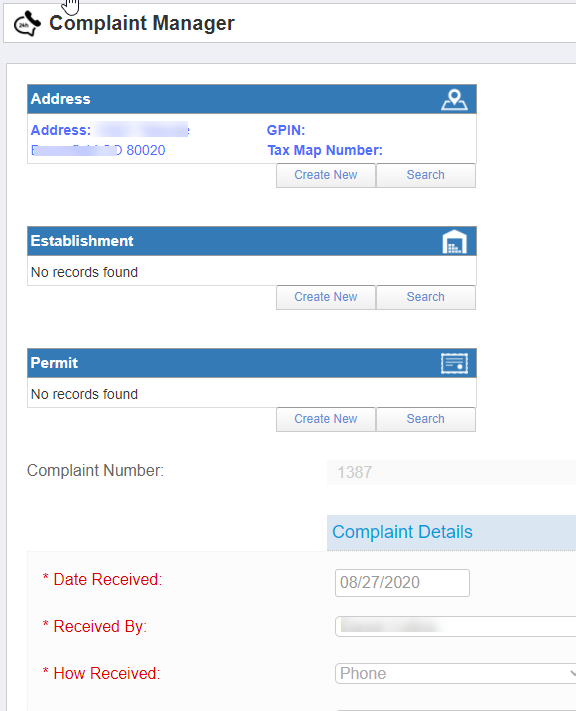
Complaint Manager
The Complaint Manager has a few types of fields that a user would go back into the record to add later.
- An embedded table is a field that allows the user to add to other utilities through a Parent record. Here is an example of the address being complete but Establishment and Permit can be filled in later.
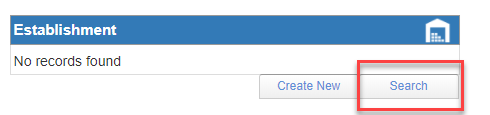
- The first step is to click on Search to see if a record exists, which for a restaurant complaint would be highly likely. Also, most likely if it didn’t exist it would be left blank.
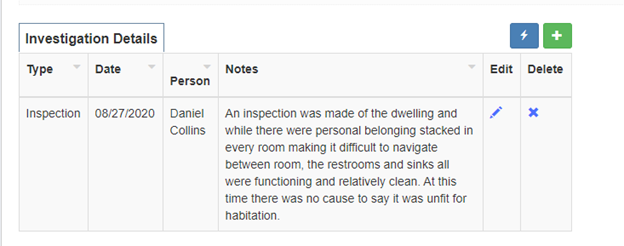
- A field that would constantly returned to in a record, would be a “reload table”, which is a form within a form. In the Complaint Manager, a reload table called “Investigation Details” (or something similar, depending on client customization) will hold rows of data, which are saved to the subform.
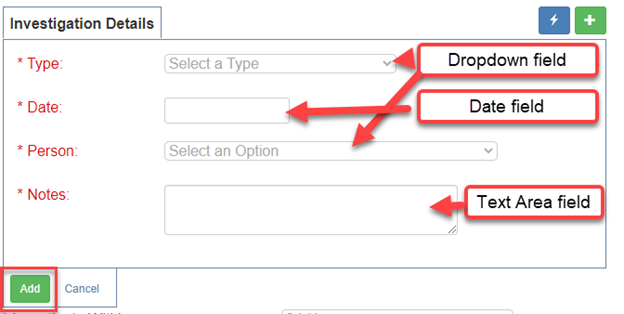
- To enter data into the table, click on the green plus + sign.

- Fill in the fields and click on the green Add button,
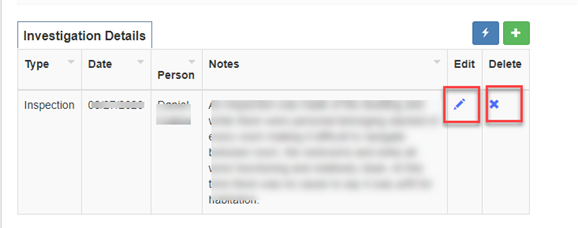
The data record has been added to the list. - This Icon opens up a form interface which allows the user to enter data by uploading a file or typing in a spreadsheet-like form. This is not covered here.

- To edit the records already in the list, click on the Edit or Delete icons.
- Another field that might be completed later would be the “Assigned To” field. This field has special properties that are connected to the User List. The user’s name is not picked from a dropdown field, but rather is typed into the field. As the letters of a first or last name of a system user are entered the choices are displayed below the typing so the assigned user’s name can be picked with a click of the mouse.
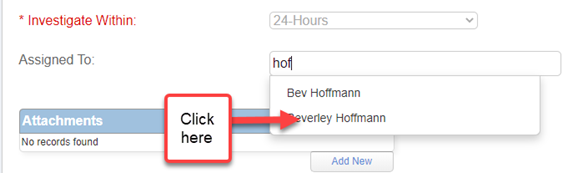
When the name is entered, the recipient will be notified by the system by email, when the record is saved.
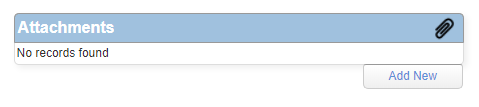
Attachments
Attachment entry is a choice on every Utility, most Utilities default with the Attachment entry available.
- Files can be added or removed from the Attachments entry item.
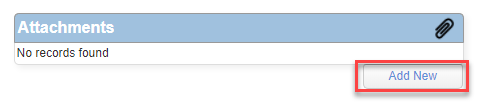
- To add a file or multiple files, click on the the Add New button.
- After changes are made, scroll to the bottom and click on Save Changes.

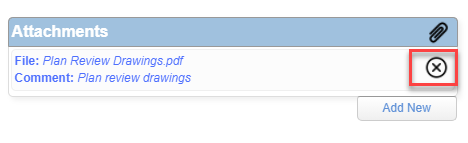
- To remove a file, click on the X icon.
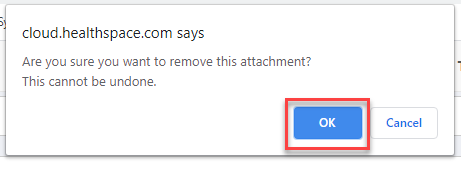
- The system prompts with an “Are you sure…” message. Click on OK button to complete the delete action.
- Adding or deleting an attachment does not require a "Save" but make sure the rest of your record data entry is saved by checking the Save Changes button status.
This means a save is needed.
This means a save is not necessary.