Using the List Screen Filter Tools:
The filtering features allows for sorting and querying the data based on different data points within this tool type or parent tool. For example, for Permits, filters are typically Program Type, Permit Type, etc. Filter options are configurable and can be added for any data points needed, that exist on the tool or it’s parent.
Beyond the data points that can be used, the filter tools allows for different querying types, like searching on a single value, or searching in a range of values (like for dates). Please see details on each item and usage below.
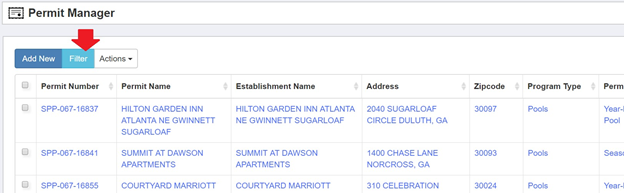
- Accessing the Filter Options: From the list screen, click “Filter”
- Notice the data points available to filter with. These will be different for every tool/screen. Options may be added or removed by changing fields properties in the List fields in Form Builder. Contact product support for help.
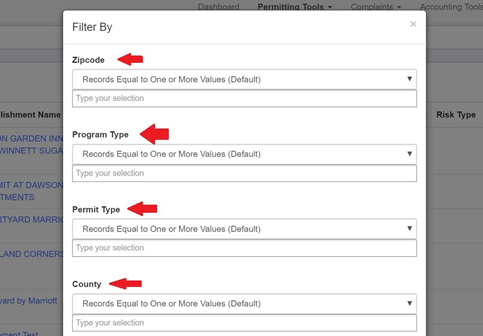
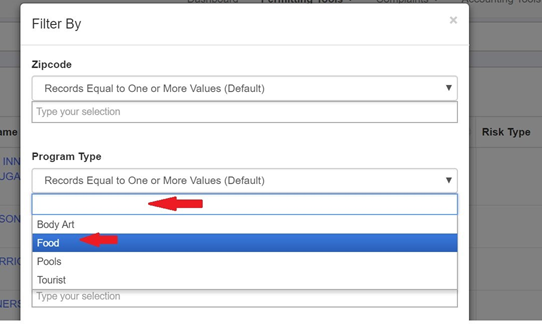
- To use a filter, first start typing the selection from one of the filtered options, or click in the blank to show all the options in the list. Only data in the system will be displayed in the list.
- Then choose HOW to filter data. There is a dropdown selector above the spot where you selected the value to search. Below explains what each of these means, and how it filters the data:
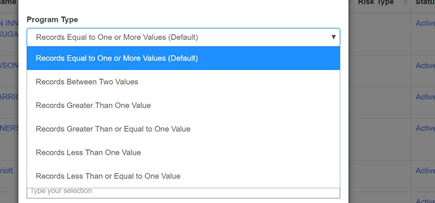
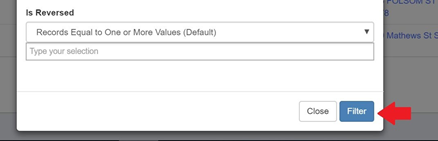
Records Equal to One or More Values (Default):
Will find all records that have the SINGLE value selected, within this field in the record. So for Program Type for example, if the choice is “Food” and/or another value, it will find all records that have that/or those values.
Records Between Two Values:
This is useful for dates, to search on a range of dates (start and end) and for number fields, for searching for a number range. For example, searching on all payments made in the date range of 01/01/2019-01/31/2019 would look like this.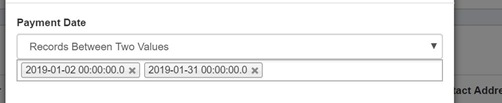
Records Greater Than One Value:
This is great for number fields filters, such as Payment Amount. This would pull back all records where, for example, an Amount is more than, the value entered. So if the filter result would be all payments where the Amount paid was greater than $100, this is the option to use.
Records Greater Than or Equal To One Values:
Same as above except the option includes the equal to value within the results. So if the filter result would be all payments where the Amount paid was equal to or greater than $100, this is the option to use.
Records Less Than One Value:
This is great for number fields filters, such as Payment Amount. This would pull back all records where, for example, an Amount is less than, the value entered. So if the filter result would be all payments where the Amount paid was less than $100, this is the option to use.
Records Greater Than or Equal To One Values:
Same as above except the option includes the equal to value within the results. So if the filter result would be all payments where the Amount paid was equal to or less than $100, this is the option to use. - When the filter(s) are selected, click the “Filter” button to pull back the results.
Key Things for Filters to Keep in Mind:
- You can use one, or you can use multiple filters at time
- After you filter, you can use the keyword search to find a specific record(s) within the filtered set (IE: All the McDonald’s within the filtered range)